The Importance of Proper Drywall Preparation
When it comes to drywall painting, proper preparation is crucial to achieving a professional-looking finish. Many homeowners underestimate the importance of this step, leading to unsatisfactory results. Preparing drywall involves more than just applying paint; it includes understanding the materials, the environment, and using the right tools. Before embarking on your drywall painting project, it’s essential to familiarize yourself with these factors, ensuring your efforts are met with the best possible outcome.
Understanding Drywall Materials
Drywall, also known as gypsum board or plasterboard, is a building material used widely in construction for creating walls and ceilings. Understanding the different types of drywall available can enhance your painting experience and the paint’s adhesion properties. There are primarily two types: regular and moisture-resistant drywall. Regular drywall is suitable for most interior spaces, while moisture-resistant drywall is ideal for areas prone to high humidity, such as bathrooms and kitchens.
It’s also essential to consider drywall finishes. Smooth, finished surfaces are most conducive to paint, while textured finishes may require additional preparation steps. Knowing what you’re working with can save time and effort during the painting process.
Essential Tools for Drywall Painting
Having the right tools is essential for a successful drywall painting job. Here’s a rundown of vital tools and materials you will need:
- Drywall Primer: This is crucial for sealing the drywall and promoting adhesion of the paint.
- Paint Rollers and Brushes: Use a 3/8-inch nap roller for smooth drywall surfaces, while a brush can help with corners and edges.
- Sandpaper: Fine-grit sandpaper is used to smooth the drywall surface after repairs or before painting.
- Drop Cloths: Protect your furniture and flooring from paint splatter.
- Painter’s Tape: Use this to mask off areas that you do not want to paint.
- Paint Tray: Essential for holding roller paint efficiently.
- Ladder or Scaffolding: For reaching high areas safely.
Preparing Your Space for Success
Preparation isn’t just about the drywall; it extends to the entire workspace as well. Here’s how to ensure your painting area is ready:
- Clear the Room: Remove all furniture, wall hangings, and any items that could get damaged by paint.
- Cover Surfaces: Use drop cloths to protect any unmovable furniture or flooring.
- Ventilation: Make sure the space is well-ventilated to promote drying and reduce fumes.
- Lighting: Adequate lighting helps identify areas needing repair and provides a clearer view during painting.
Choosing the Right Paint and Primer for Drywall
Selecting the appropriate paint and primer is paramount for achieving the desired finish on drywall. The right choices can impact both the aesthetics and longevity of the paint job. Furthermore, understanding the properties of different products can lead to better outcomes.
Best Paint Types for Drywall Painting
When selecting paint for drywall, there are two primary categories to consider: latex and oil-based paints. Latex paints are the most common choice for drywall because they are water-based, easy to clean, and have lower levels of harmful VOCs (volatile organic compounds). They dry quickly, allowing for multiple coats in a single day, which is particularly beneficial in extensive projects.
Oil-based paints offer durability and are particularly good for high-traffic areas. However, they can take longer to dry, require solvents for clean-up, and have stronger odors. For typical interior drywall, a premium quality latex paint is recommended for its flexibility and ease of use.
How to Select the Correct Primer
The right primer can significantly influence the final result of your paint application. A PVA (polyvinyl acetate) primer is often recommended for new drywall because it seals the surface, preventing the paint from soaking in and promoting uniformity in the finish. Furthermore, it helps in covering any joint tape and mudding that may be visible, ensuring a smooth final appearance.
While purchasing, make sure to choose a primer compatible with the paint type you have chosen. Many manufacturers produce paints and primers designed to work together, optimizing performance.
Color Theory: Making the Right Choice
Color selection can be both exciting and overwhelming. Understanding color theory is essential when choosing the right hues for a space. Lighter colors can create the illusion of a larger area and reflect natural light, which is particularly effective in small rooms. Conversely, darker shades can add warmth and coziness, but they may make a space feel smaller if overused.
Consider the overall style of your home and the ambiance you wish to create. Using a color wheel can help identify complementary colors and ensure harmony in your design. Testing paint colors on small sections of the wall can also help visualize how they will look in different lighting conditions throughout the day.
Step-by-Step Drywall Painting Process
A systematic approach to painting drywall can ensure that you achieve a professional finish. Follow this step-by-step guide for best practices during the painting process.
Prepping the Drywall Surface
Before diving into painting, you need to prep the drywall surface adequately:
- Inspect for Damage: Identify and repair any dents, scratches, or holes in the drywall. Fill these areas with joint compound, let them dry, and sand them smooth.
- Clean the Surface: Dust and debris can hinder the adhesion of the paint. Use a vacuum with a soft brush attachment or a damp cloth to remove dust.
- Sand the Walls: Lightly sanding the entire wall helps create a texture that the primer and paint can better adhere to, ensuring an even coat.
Applying Primer Like a Pro
Priming is a crucial step that can make a noticeable difference in the final look of your paint job:
- Choose the Right Tools: Use a roller for large areas and a brush for edges and corners to apply the primer.
- Start at the Top: Begin applying primer at the ceiling and work your way down, allowing for easier cleanup.
- Use Even Strokes: Apply the primer using even strokes to avoid roller marks. Aim for thin coats; two thin layers are better than one thick layer.
- Allow to Dry Completely: Give the primer sufficient time to dry before proceeding to paint. Follow the manufacturer’s instructions for drying times.
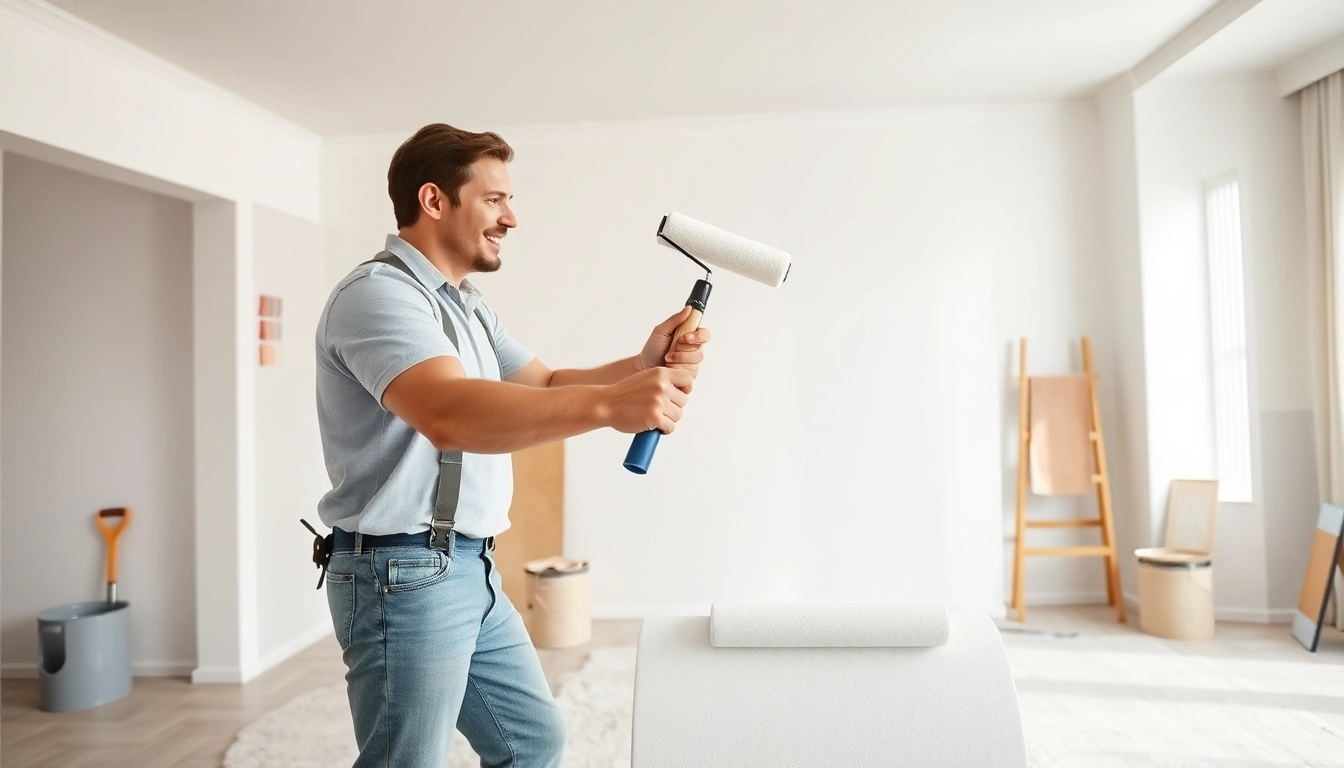
Techniques for Smooth Coat Application
Achieving a smooth finish involves the right techniques. Here’s how:
- Use Quality Tools: Invest in high-quality rollers and brushes; they apply paint more evenly and reduce the risk of fibers being left on the wall.
- Consider Paint Conditions: Pay attention to temperature and humidity; these factors can influence drying times and finish quality.
- Apply Multiple Thin Coats: Instead of slapping on a thick coat, use several thin coats for better coverage and an even finish. Sand lightly between coats if necessary.
Common Mistakes to Avoid When Painting Drywall
To ensure success in your drywall painting project, be aware of common pitfalls that can affect the outcome of your efforts.
Skipping the Primer: Why It Matters
One of the biggest mistakes is thinking the primer can be skipped. The primary function of primer is to enhance paint adhesion and improve the uniformity of the finish. It also helps hide imperfections in the drywall, providing a proper foundation for the paint and minimizing the number of coats required. Neglecting this step can result in uneven pigmentation and premature paint wear.
Overloading the Roller: Getting it Just Right
Many novice painters tend to overload their roller with paint, thinking a thicker application will save them time. Overloading can lead to drips and an uneven finish, which is difficult to correct. Instead, dip the roller in paint, then roll it on a tray to remove excess before applying it to the wall. Use even pressure to achieve a consistent layer.
Neglecting Drying Times
Not allowing paint to dry adequately between coats can be detrimental. Each layer needs time to set properly to avoid issues like peeling or bubbling. Be sure to check the product instructions and allow ample drying time, especially under humid conditions where drying may take longer.
Post-Painting Care for Drywall
Once you’ve completed painting, the work isn’t quite done. Adequate care post-paint job is essential for maintaining your labor.
Cleaning Up Your Tools and Workspace
Cleaning your brushes, rollers, and tools should be done promptly after painting, as dried paint can be problematic to remove later. For latex paint, warm, soapy water will work; for oil-based paint, you’ll need mineral spirits or paint thinner. Ensure proper disposal of any leftover materials to remain environmentally friendly.
Touch-Ups and Final Inspections
Inspect your work after the paint has dried completely. Look for areas that may need touch-ups or corrections. A small artist’s brush can help you address these blemishes with precision. It’s also a great time to remove painter’s tape while the paint is still slightly soft, as this can yield crisp edges.
Maintaining Your Newly Painted Walls
Once the painting is complete, maintaining the walls is crucial. Avoid cleaning solutions with harsh chemicals that can damage the paint. Instead, use a damp cloth for regular cleaning. You can also achieve longevity by avoiding excessive moisture, which can lead to peeling and bubbling.
Drywall painting can be a rewarding task that transforms your space. With meticulous preparation, the right selection of materials, and conscious care, you can achieve a stunning finish that lasts. For insights on effective drywall painting, visit drywall painting guides to help you along your path to painting perfection.