Understanding On-Site Videography
Definition and Importance of On-Site Videography
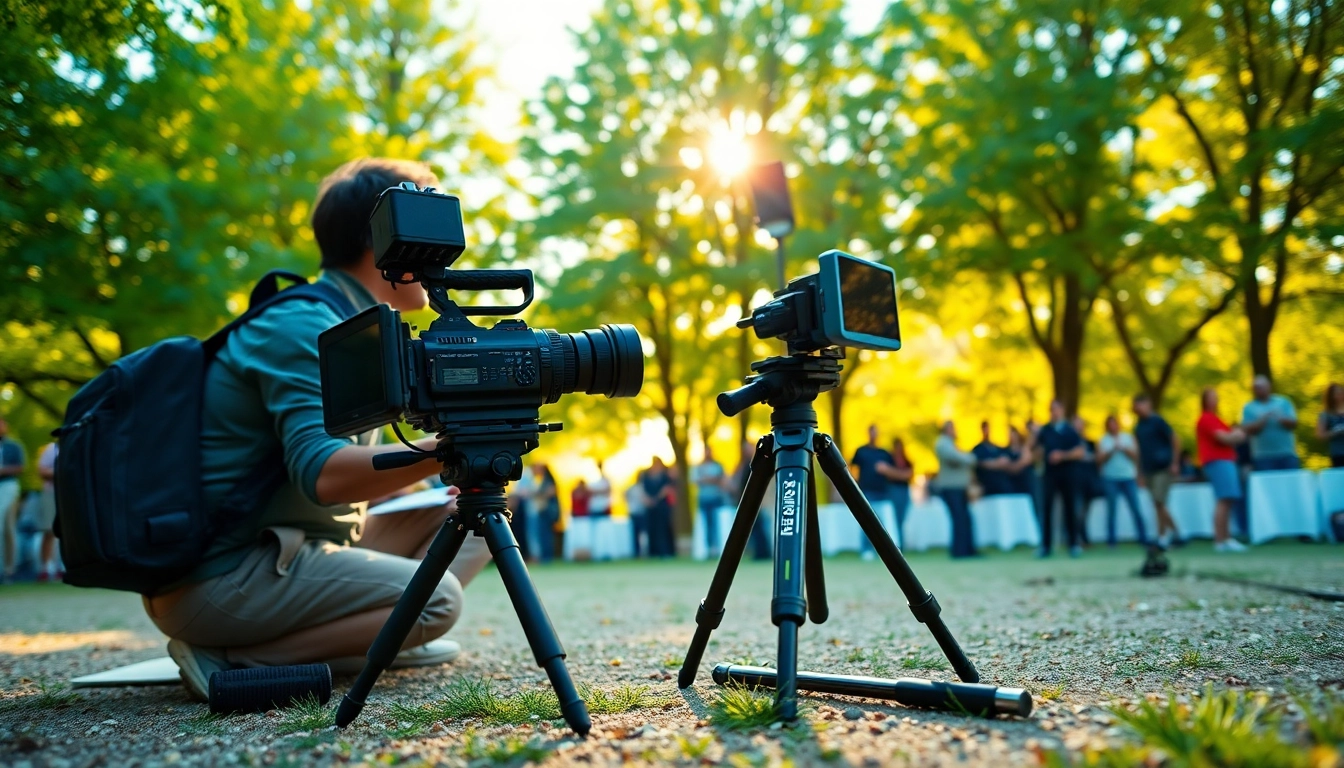
On-site videography refers to the practice of recording video content in a location where events or activities are taking place, rather than in a controlled studio environment. This approach captures the authenticity and spontaneity of live events, making it a crucial tool for businesses, brands, and content creators. With the rise of video content consumption across platforms, the demand for high-quality on-site videography has become increasingly important. It offers a compelling way to engage audiences, tell stories, and document experiences in real-time. By utilizing On-Site Videography, companies can create immersive narratives that resonate with viewers, whether they are marketing a product, covering an event, or producing educational content.
Key Components of Effective On-Site Videography
Effective on-site videography hinges on several key components:
- Planning: Solid planning is paramount. This involves scheduling, creating a shot list, and understanding the narrative you want to communicate.
- Equipment: The choice of equipment is incredibly important. Quality cameras, sound equipment, and lighting setups are critical in capturing professional-grade footage.
- Team Coordination: A well-coordinated team can make or break a shoot. Depending on the complexity of the project, this could include camera operators, sound technicians, and directors.
- Environment Adaptation: Being able to adapt to various lighting conditions, backgrounds, and potential interruptions is essential. This flexibility often dictates the quality of the final product.
- Post-Production: Quality editing can enhance the story being told through on-site footage. This includes color correction, sound mixing, and incorporating graphics or titles.
Common Use Cases in Various Industries
On-site videography is utilized across diverse industries for various purposes:
- Corporate Events: Companies use on-site videography to document conferences, workshops, and product launches, creating promotional materials or internal training content.
- Event Coverage: Whether it’s weddings, concerts, or community events, capturing these moments on-site provides clients with lasting memories.
- Marketing Campaigns: Brands leverage on-site videography to create authentic content for social media, showcasing products in real-life scenarios.
- Training and Education: Organizations often record live training sessions or demonstrations, providing employees with valuable resources they can refer back to.
- Real Estate: Videographers capture property walkthroughs to give potential buyers an immersive view of listings.
Planning Your On-Site Videography Shoot
Creating a Comprehensive Shot List
Creating a shot list is an essential step in the planning process for an on-site videography shoot. A well-structured shot list ensures that all necessary footage is captured efficiently and methodically. Here are some steps to create one:
- Define Your Goals: Determine the purpose of the video. Are you documenting an event, creating promotional content, or crafting a tutorial?
- Identify Key Scenes: Break down the video into essential scenes or segments that align with your goals.
- Sequence Your Shots: Arrange the shots in the order they will be filmed, considering the logistics of the filming location.
- Include Technical Details: Note details such as angles, durations, and any specific actions or dialogues needed in each shot.
Choosing the Right Location and Time of Day
The location and time of day play a critical role in the quality of your on-site videography. Here are considerations for selecting the right setting:
- Environment: Choose a location that not only suits the video’s purpose but also provides a visually appealing backdrop.
- Lighting: Natural light can significantly enhance the quality of your footage. Morning or late afternoon often provides the best lighting conditions.
- Noise Levels: Consider ambient sounds that may interfere with audio recording. If the location is prone to interruptions, plan accordingly.
- Permits and Access: Ensure you have the necessary permissions to film in your chosen location and plan for any logistical challenges.
Assembling Your Videography Team
Assembling the right team is crucial to executing a successful on-site videography project. Below are essential roles you may need:
- Videographer: The primary person responsible for capturing footage. This individual should have experience with different camera types and shooting techniques.
- Sound Technician: To ensure high-quality audio, having a dedicated sound technician is beneficial, especially in noisy environments.
- Director/Producer: A director or producer can help guide the overall vision of the project, ensuring each aspect meets the intended outcome.
- Support Staff: Depending on the scale of your shoot, additional crew members may assist with equipment, setup, and logistics.
Technical Considerations for On-Site Videography
Essential Gear and Equipment Checklist
Having the right equipment is fundamental for successful on-site videography. Here is a checklist of essential gear:
- Cameras: High-definition cameras are vital for capturing quality footage. Consider whether DSLRs, mirrorless, or camcorders fit your needs.
- Lenses: Changeable lenses can provide versatility, enabling you to capture wide shots as well as close-ups.
- Microphones: External microphones improve audio quality significantly, reducing background noise.
- Tripods/Stabilizers: Stabilization equipment is essential for smooth shots, especially in motion.
- Lighting Gear: Softboxes or additional lighting help in poorly lit environments.
- Batteries and Storage: Ensure you have ample batteries and storage cards that can handle high-definition video.
Understanding Lighting and Sound Techniques
Mastering lighting and sound techniques can elevate the quality of your on-site videography:
- Three-Point Lighting: This technique uses key light, fill light, and backlight to create depth and interest.
- Natural Light Use: Leverage natural light, especially during golden hour, to enhance imagery.
- Directional Sound: Position microphones strategically to capture primary sound sources while minimizing background noise.
- Audio Monitoring: Use headphones to monitor sound throughout the recording process, ensuring clear audio.
Editing Software and Post-Production Tips
Post-production is essential for refining the raw footage captured during the shoot. Here are some tips for effective video editing:
- Choose the Right Software: Use editing software that suits your experience level and project needs, such as Adobe Premiere Pro, Final Cut Pro, or DaVinci Resolve.
- Organize Your Footage: Create a systematic folder structure for your footage, making the editing process smoother.
- Color Grading: Adjust color balance and exposure to create a cohesive look across all footage.
- Sound Mixing: Balance audio levels, and add music or sound effects to enhance the overall impact.
- Export Settings: Export in the appropriate format and resolution, considering where the video will be displayed (e.g., online, broadcast, etc.).
Promoting Your On-Site Videography
Best Platforms for Sharing On-Site Videos
Once your on-site video is produced, choosing the right platforms for sharing is critical. Here are some effective options:
- YouTube: As the largest video-sharing platform, YouTube allows for broad distribution and great search visibility.
- Social Media: Platforms like Facebook, Instagram, and TikTok facilitate sharing snippets or highlights, driving engagement.
- Website Embedding: Embed videos directly on your website to enhance user engagement and provide valuable content to visitors.
Using Social Media to Drive Engagement
Social media is an invaluable tool for promoting on-site videography. Consider these strategies:
- Teasers: Share short clips or trailers leading up to the full video release to build anticipation.
- User Interaction: Encourage audience feedback, comments, and shares, fostering community engagement around your content.
- Tags and Hashtags: Use relevant hashtags to increase visibility and reach audiences interested in specific themes or events.
Case Studies of Successful On-Site Videography Campaigns
Exploring case studies can provide inspiration for executing effective on-site videography campaigns. Successful projects often share similar traits:
- Clear Objectives: Campaigns with well-defined goals consistently yield better results.
- Audience-Relevant Content: Focusing on what resonates with the target audience is key.
- Integration Across Channels: Successful campaigns utilize multiple platforms to distribute and promote content, enhancing overall visibility.
Measuring Success in On-Site Videography
Metrics to Evaluate Video Performance
To determine the effectiveness of your on-site videography, track various performance metrics:
- View Count: Monitor how many times your video has been viewed as a basic measure of reach.
- Engagement Rate: Analyze likes, comments, shares, and overall engagement to understand viewer interaction.
- View Duration: Look at how long viewers watch your videos, which can indicate content effectiveness.
- Conversion Metrics: If applicable, track how many viewers take action after watching (e.g., signing up, making a purchase).
Feedback Collection from Viewers
Feedback is vital for gauging audience perceptions and improving future projects. Techniques for collecting feedback include:
- Surveys: Use post-viewing surveys to gather viewer impressions and suggestions.
- Comment Sections: Monitor comments and discussions across platforms to gauge sentiment.
- Analytics Tools: Utilize analytics tools that provide insights into viewing patterns and audience demographics.
Continuous Improvement Strategies for Future Projects
Continuous improvement is vital for refining your on-site videography efforts. Consider the following strategies:
- Review Metrics Regularly: Assess performance data on a regular basis to inform future content strategy.
- Attend Workshops: Keep learning about new videography techniques, trends, and technologies.
- Solicit Team Feedback: Gather feedback from your team members after each project to identify areas for improvement.